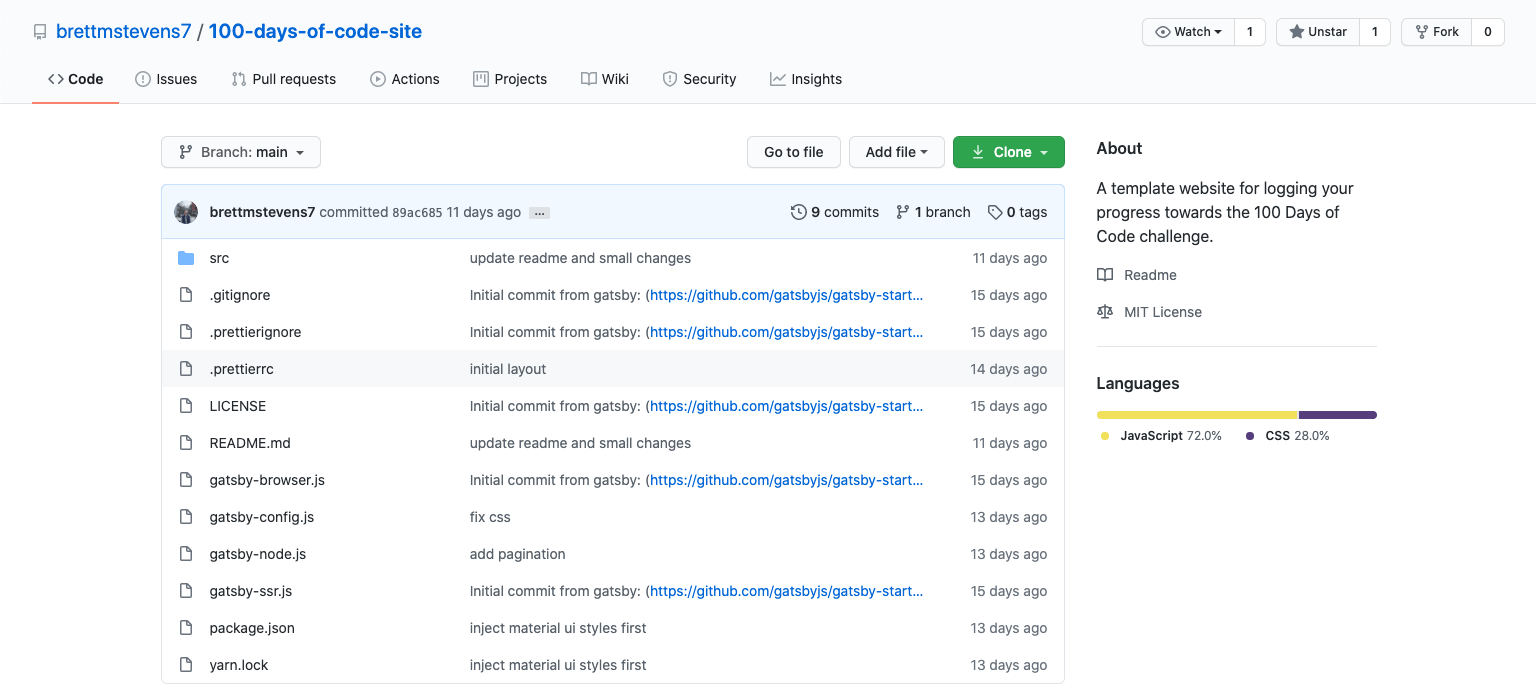
➡️ If you just want to get the template for your personal 100 Days of Code website, go here and fork the repo. See a preview here. If you want to learn how it all works, keep reading.
Overview
In this post, we’ll walk through how to create your own personal website for 100 Days of Code. You'll use a pre-built website template that takes just a few steps to set up. No knowledge or coding experience is required, but will be helpful (I'll do my best to outline some of the basics in each section).

If you’re new to 100 Days of Code, it is a self-directed commitment by developers to build strong and consistent coding habits. The challenge uses social accountability, transparency, and deep reflection to form healthy developer habits.
The ultimate goal of the 100 Days of Code challenge is to become a better developer and to build coding as a habit. If you hope to become a more versatile, disciplined, and skilled developer, you should consider joining the challenge.
Building a site to showcase your progress during 100 Days of Code is a great way to stay motivated and share what you learned with others. Alexander Kallaway, creator of the challenge, suggests keeping a log like this one. Creating a log is also helpful for memorializing your accomplishment after you finish the challenge.
To build your site, we'll use:
- Gatsby: a free, open source framework based on React that lets you build static websites and apps.
- Netlify: a free hosting platform that lets you quickly deploy your app to the web, without running or managing any servers.
- GitHub: a free and popular service to store and edit your code.
You might have heard of Wordpress before—it’s a content management system with a large ecosystem of plugins and templates you can use to set up your site. We're not going to be building a Wordpress site, which is a dynamic site and executes code running on a backend server. Instead, we’ll be building a static site, can run entirely on a client-side machine using a Jamstack architecture.
The Jamstack is a modern web development architecture based on client-side JavaScript, reusable APIs, and prebuilt Markup. Coined by Netlify CEO Mathias Biilmann, the Jamstack underpins the modern static website.
If you want to try setting up a Jamstack app on your own, check out out Stackbit's 1-click Jamstack websites at https://jamstack.new/info/. It's a tool that allows anyone to create a Jamstack website in 60 seconds. It's a simple, easy way to explore the various Jamstack tools out there.
Static sites offer many benefits over dynamic sites, such as faster performance, cheaper hosting, and ease of development. Static sites are also ideal for mobile-first indexing and page speed—two top ranking criteria for search engine optimization and top of mind for any frontend web developer.Now let's dive into how we built the site template and how you can deploy your own version.
Designing the template
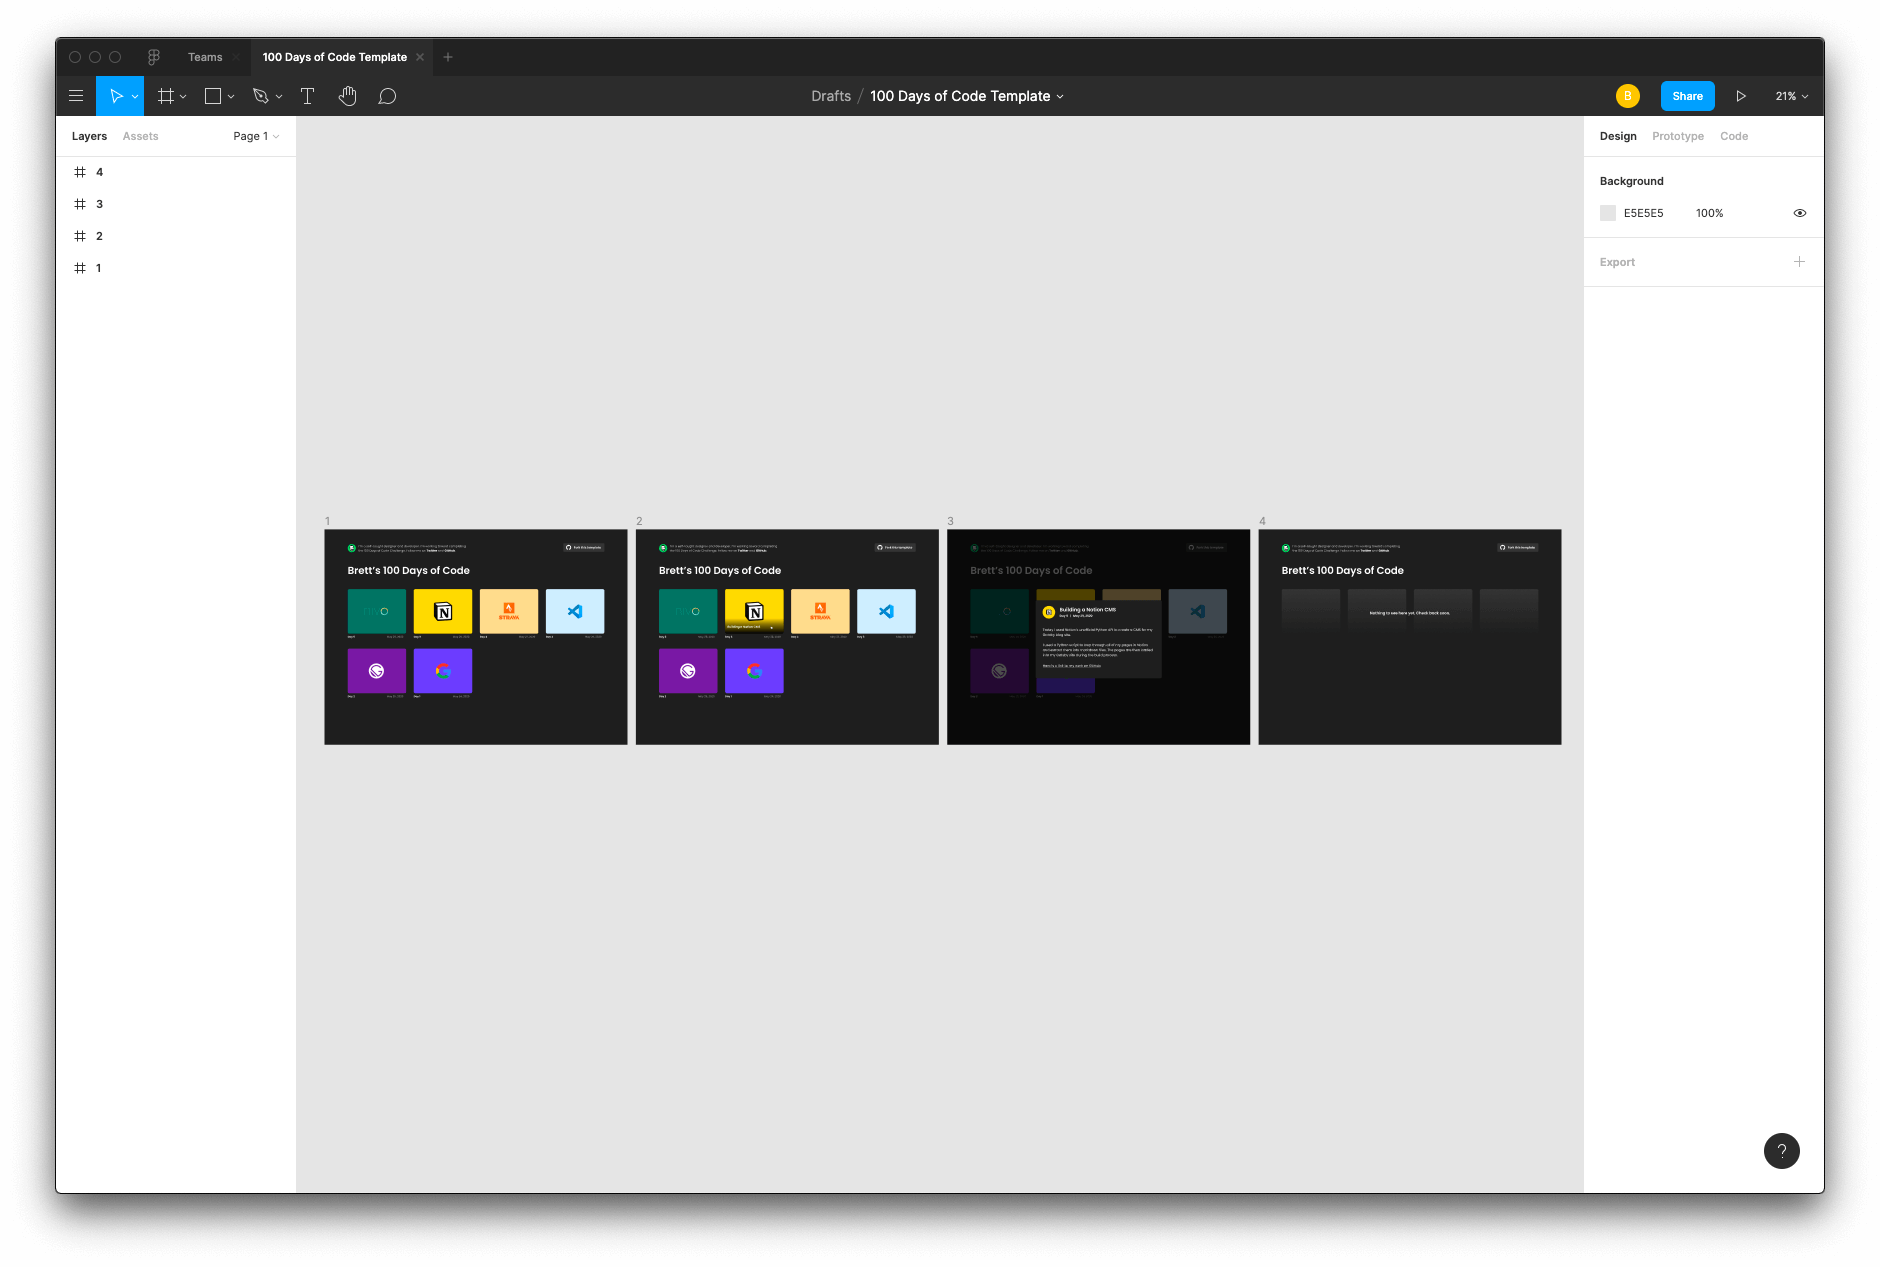
Before writing any code, it's important to start by designing what you are going to build. Figma is a free tool that you can use to create prototypes of your website. It has become the most widely-used design tool in the market today.

Here is the template in Figma. Note: my brother Brett built the site. He didn't build the site exactly to his original design, but it is still important to get the layout and structure of the site down before building anything. It will save you time.
Set up your Node environment
Gatsby is built with Node.js, a popular Javascript runtime environment with an extensive ecosystem of packages—third-party modules built by other developers that you can use in your projects.
A prerequisite to running Gatsby is setting up your Node development environment. You can follow this tutorial. I prefer to use nvm to manage Node:
- Download the nvm install script via curl: curl -o- [<https://raw.githubusercontent.com/creationix/nvm/v0.33.0/install.sh>](<https://raw.githubusercontent.com/creationix/nvm/v0.33.0/install.sh>) | bash
- Install the latest stable version of Node: nvm install --lts
Set up Git and GitHub
You'll also need to have Git and a GitHub account. If you're new to these tools, Git is an open source tool that lets you manage versions of your code by tracking changes with commits and branches.
Once you've set up Git, you're going to link it to your GitHub account. GitHub is a remote hosting provider for Git repositories that allows you to share your code with the world and collaborate with other developers.
Here is a guide to set up Git and link it to your GitHub account.
Developing a Gatsby site
Now that the site is designed, Node is installed, and we've set up Git and GitHub, let's cover Gatsby. Initially, to set up the site, we followed the quick start guide. Here were the steps to set up our site:
- Create a new Gatsby site by running gatsby new 100-days-of-code
- Make changes to the starter template
- Commit all of our changes to Git
- Push everything to GitHub
You won't need to do these steps, since we've already set up the repo for you. Instead, you'll just need to run these commands:
- Clone your forked GitHub repo to your machine: git clone <link to your forked repo> (you can get this link from your forked repo on GitHub).
- Navigate to the directory you just cloned: cd <link to your forked repo>
- Install the Gatsby CLI globally: npm install -g gatsby-cli
- Install dependencies: npm install
- Run the site using gatsby develop.
- Visit localhost:8000 in your browser to see a version of your website running locally
Set up your package manager (optional)
There are several different ways to install Node packages in your project, the two most popular being npm and yarn.
By default, Gatsby works with npm, which comes installed with it. I prefer to use yarn, so here's how to set that up.
To edit your Gatsby config to use yarn, edit this file on your local machine:
// .config/gatsby/config.json
{
"telemetry": {
"enabled": true,
"machineId": "895568d5-3051-4ba4-9563-0a4dc4b3638b"
},
"cli": {
"packageManager": "yarn"
}
}
Now, you can add new packages to your Gatsby repo using yarn add. This will add a package to your package.json file and create a yarn.lock file in your repo. You can delete the package.lock file if it exists, since you should only use one package manager. Anyone else working in your repo will have to run yarn before they run gatsby develop.
Some packages that I used when creating this site:
- The plugins for Material UI core, styles, and icons: yarn add @material-ui/core
- The markdown plugin: yarn add gatsby-transformer-remark
- The remark images plugin: yarn add gatsby-remark-images
These packages are automatically installed when you run yarn.
The template we’ve built uses Material UI, a React implementation of Google's Material design framework. They have premade components that you can leverage, such as buttons, dialogs, and navigation. I encourage you to browse their site to get an understanding for the types of components you can leverage from any React component library (others include Ant, Fluent, and Grommet).
Site structure
Before adding any content of your own, let's go over the anatomy of the site structure. In your /src folder, you have these subfolders:
- components - contains the components rendered on your site, such as layout.js and header.js components.
- pages - contains all of your markdown files, as well as any other pages on your site. Gatsby automatically creates a new page for each Javascript file you had to this folder.
- images - image assets for your site. This is where you'll put your post thumbnails.
- theme - this is where you can customize the Material UI theme. You can also edit layout.css to customize the raw CSS.
Outside of the /src folder, there are also a set of files that use the Gatsby API. These include gatsby-config.js, which is used to manage your site data and plugins. You don't really need to worry about the other files if you're just getting started, but you can read more here if you'd like.
Add your own posts
The Gatsby site works by reading in your posts in markdown and converting them into HTML on your website using the markdown remark plugin. The markdown remark plugin also allows us to easily query for all of the markdown content in our repo using GraphQL.
What is GraphQL? It's a query language that allows you to fetch data in a flexible way. Compared to REST APIs, GraphQL gives you the power to get exactly the data you need (instead of having a predefined set of data in a set of API endpoints). You can see your data and build queries using the GraphQL explorer available at localhost:8000/__graphql.
To add your own posts, create a new .md file in the /pages folder. Each post has frontmatter, which is the metadata attached to your post. This is where, for instance, you can set the day number (e.g. Day 5) and the path to the image you want to display on your page for that day. Posts are ordered by day when they are organized in the paginated layout, so be sure to add day to the frontmatter of your posts.
Once you've added your post, commit it to Git! If you don't know Git yet, the commands you need to know are:
- git init - initializes a new Git repository in a folder on your machine (you don’t need to run this if you cloned your repo from GitHub)
- git add -A - adds all of the files you’ve modified to your staged changes
- git commit -m "some message" - commits your staged changes to Git
- git push origin <branch name> - lets you push your changes to your remote repository on GitHub
Deploying the template
Now that you've set up your local development environment, it's time to build and deploy your site to Netlify.
First, create a free Netlify account. Click "Create a new site from Git", authorize the Netlify app to be installed in your GitHub account, and choose your GitHub repository.

Leave all of the settings as-is and click to deploy your site. Make sure to set the production branch to the correct branch of your choice in the Netlify deploy contexts.
Netlify will give you your own unique Netlify domain (e.g. https://bretts-100-days-of-code.netlify.app/), but you can configure your own custom domain using your hosting provider of your choice.
When you deploy your site, your React code is compiled and deployed to Netlify's servers. Netlify hooks into your GitHub account to allow your site to be deployed automatically. Every time you make a new commit, a new build of your site is triggered, and then your site is deployed (as long as the build succeeds).
That's it!
You've created your own 100 Days of Code site. Check out our guide for more resources on completing the challenge.


